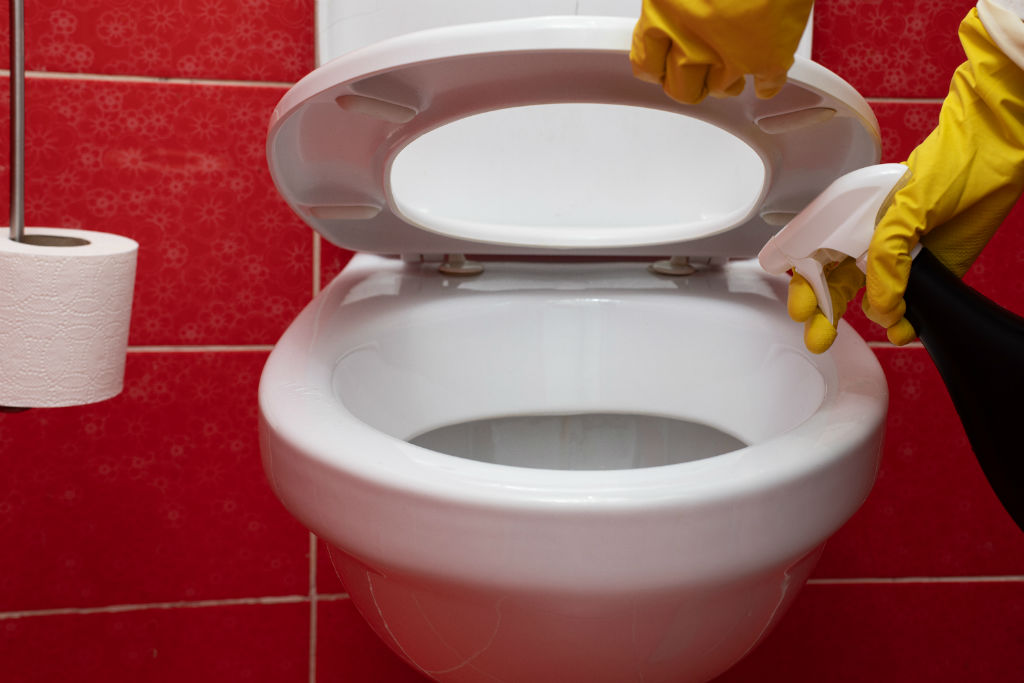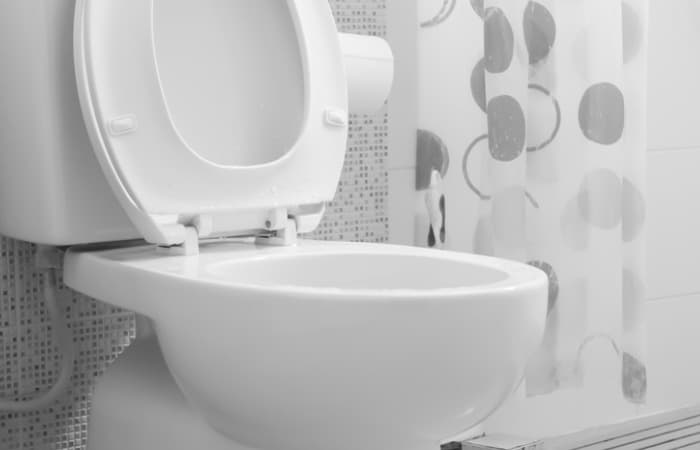
Soft close toilet seats offer exceptional comfort and ease of use owing to their soft built and quieter functionality. Compared to traditional toilet seats, you won’t disturb anyone because of loud seat clashing sounds, be it closing the lid or the seat itself.
There are a lot of benefits of using soft close toilet seats. What’s best, they are perfect for children who struggle with grip while lifting open and closing the seats. Not to forget, the cushioning effect is essential in relieving pressure while sitting on the toilet seat, and this seat type offers warmth too.
Either way, soft close toilet seats are a good choice because of the special hinges used. They hold the seat’s back edge in place and allow a slow and silent closing mechanism. Keep in mind; every soft close toilet seat isn’t adjustable, so make sure to check if yours is.
All in all, it’s the hinges that enable you to maximise its adjustability. Let’s look at two methods on how to adjust a soft close toilet seat.
2 Methods On How To Adjust A Soft Close Toilet Seat
Based on the toilet seat’s hinge design, there are two methods to adjust the soft close seat:
Method 1: Slowing Down Metal Peg-Style Hinges
Here is a step-by-step breakdown to execute this method:
Step 1: Lift the toilet seat upwards and look for vertical pegs. There should be metal hinges present on them. Spot metal pegs above the circular plates under the toilet seat’s backside. If this can’t be spotted, scroll down to method 2.
Note: These soft close hinges are only adjusted if the speed at which the seat closes is not accurate. If your reason is related to seat looseness, adjust the bolts.
Step 2: Pull the toilet seat out of the hinges while in an erect position. Make sure you’re focusing on detaching it from the metal pegs, or you’ll end up breaking the seat. Also, based on the hinge’s locking mechanism, you may have to play with the hinges before detaching the seat.
Step 3: Now that the seat is detached, place it in a flat manner on a work surface. The goal is to expose the metal hinges.
Step 4:There are cylindrical dampers on either side of the seat’s backend. Snap them out of their holes by grabbing the dampers and pulling them. It’s these dampers controlling the seat’s closing speed.
Step 5: Now rotate the detached dampers to tighten/loosen them. This helps the seat close more fluently once reattached. Start by spinning the damper and double-check that you’re choosing the damper’s alignment as per the hole’s shape. Carefully look for labels stating “slow or fast” and keep an eye out for arrows too. Also, look for notch options to choose amongst different attachment options.
Step 6: Now that they’re readjusted, fuse these hinge dampers into the holes again. Ensure the same damper placement is implemented on either side to guarantee the lid and seat both close at similar speeds.
Step 7: It’s time to reattach the seat. Cross-check the locking mechanism is used correctly and that the pegs are in place.
Method 2: Adjusting The Plastic Clip-on Hinges
Here is a step-by-step breakdown to execute this method:
Step 1: Start the other way around by closing the toilet seat. If method one didn’t work for you, most probably, there are plastic covers behind the seat’s hinge. These plastic covers usually conceal the bolts used on the hinges of the seat.
Step 2: While holding the seat downwards in a resting position, slide it outwards. However, first, remember to flip open the plastic hinge covering behind the toilet seat. Once flipped open, only then and attempt to pull the seat for detachment.
Step 3: If sliding it off seems unfeasible, there are probably screws below the backside of the seat. This variation occurs because of the built different brands and their respective models execute.
Step 4: Now that it’s detached, flip the seat in a manner where the hinge assembly is facing you.
It’s time to utilise pliers for extracting the cylindrical dampers embedded in the hinge assembly. Use the pliers to hold one end of the damper and slowly pull it out of the hole. Keep in mind; a plastic cover can exist under the hinge assembly. There’s a chance you need to uncover this plastic assembly to spot the cylindrical dampers in the hinge.
Sometimes, you can directly detach the entire hinge assembly from the seat and set it aside to work more precisely and easily.
Step 5:– Now that the dampers are detached, rotate them to reduce the soft close toilet seat’s shutting speed. Once again, keep an eye out for notches or arrows for gaining better direction. Above that, study the hole’s shape and approximate how much insertion is required.
Remember, a single notch means they aren’t adjustable. On the contrary, a hexagonal or multiple-notch damper indicates the options to attach them at varying positions. Once again, based on the soft close toilet seat model, there can be two or three positional options to set the damper.
And if your soft close toilet seating isn’t suitable for adjustments, fret not! One can always purchase a newer seat at pocket-friendly costs.
Step 6: Now that the cylindrical dampers are adjusted feel free to reinsert them into the hinge assembly. Since the positioning would be new, you want to perform this step slowly to ensure everything is executed correctly. And like in method 1, both dampers should be in the same position to avoid the seat and lid from shutting/opening at varying speeds.
Don’t forget to reattach the plastic cover on the hinge.
Step 7: Smoothly slide the soft-close toilet seat into the bolts attached to the backend of the toilet bowl. Readjust the clips into the hinge and tighten the bolts. Finally, put extra pressure on the clips to close them properly — end by placing the plastic covers above the bolts.
Verdict
Now that you’ve learned two methods to adjust your soft close toilet seat go on and revive the comfort these seats offer! We also suggest scrolling through these UK toilet seat reviews if you’ve been thinking of changing your toilet seating.

