Leaking showers are a super common issue and are not something you should ignore for too long. For some people, the sound of the shower leaking drives them crazy and they react quickly to get it sorted out, but others ignore it thinking it is not a big problem. “My shower is leaking” is a common reason people call their plumbers and the fact is if ignored it can lead to larger issues and water damage.
So where exactly is your shower leaking from? Finding the source of the leak is the first thing to diagnose. So let’s look at the signs of a leak you can see.
The 5 signs your shower is leaking
- Water stains – Look for water stains on the ceiling or walls below the shower. This could indicate that water is leaking from the shower and seeping through the floor or walls.
- Damp or musty smell – If you notice a damp or musty smell coming from your bathroom, it could be a sign of a leaking shower. This is because water that leaks out of the shower can create a moist environment that promotes the growth of mould and mildew. Note the bathroom smell could also be smelly drains, a sign of a blockage.
- Cracked or missing grout If the grout between the tiles in your shower is cracked or missing, water can seep through and cause damage to the underlying structure.
- Loose or damaged tiles If the tiles in your shower are loose or damaged, water can seep through the gaps and cause damage to the underlying structure.
- Peeling or bubbling paint or wallpaper – If you notice peeling or bubbling paint in your bathroom, it could be a sign of a leaking shower. Water can seep through the walls and cause the paint or wallpaper to peel or bubble in adjoining rooms.
- Higher water bills – If you notice a sudden increase in your water bills, it could be a sign of a leaking shower. Even a small leak can waste a lot of water over time, which can cause your water bills to increase.
If you see watermarks on walls around your shower or suspect water is leaking in the wall you may have a leaking or burst water pipe emergency on your hands. To minimise water damage, hidden water leaks like this need some prompt attention from a professional.
For some shower leaks, before you call your plumber there are a couple of things you can look at to see if you can fix it yourself. The common places a shower leaks from is the showerhead, shower screen or the shower taps and all could be an easy fix. That’s what we’ll take a closer look at DIYing today.
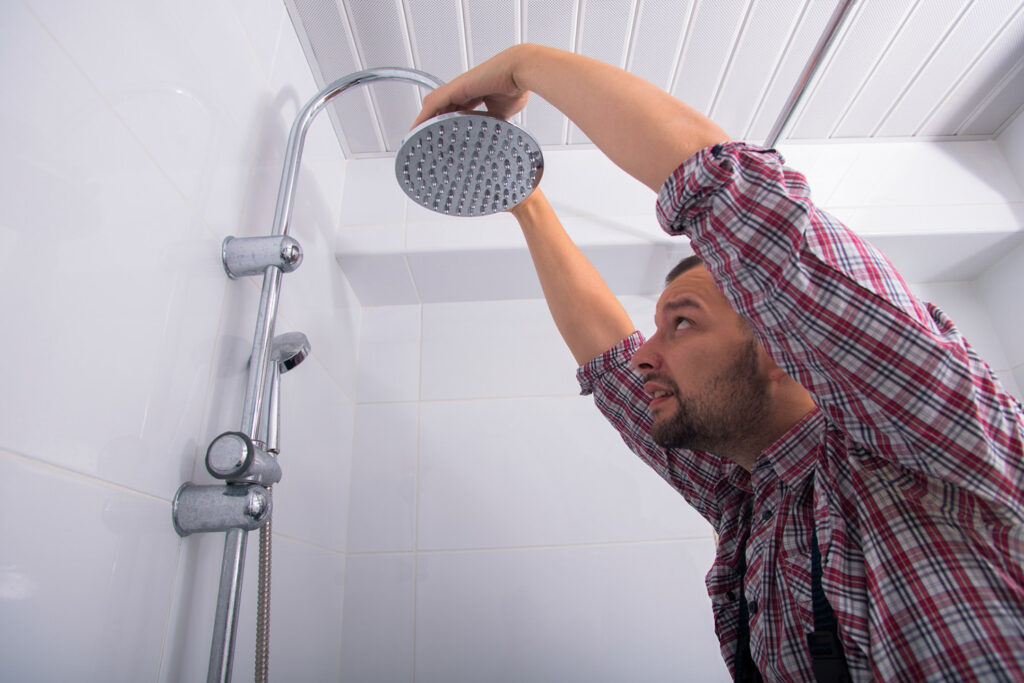
How to fix your leaking showerhead
Having a leaking showerhead is a pretty common problem you will likely see more than once. It happens especially when the showerhead is older and parts are starting to wear down. Try the following and if you do not see improvement then call your plumber.
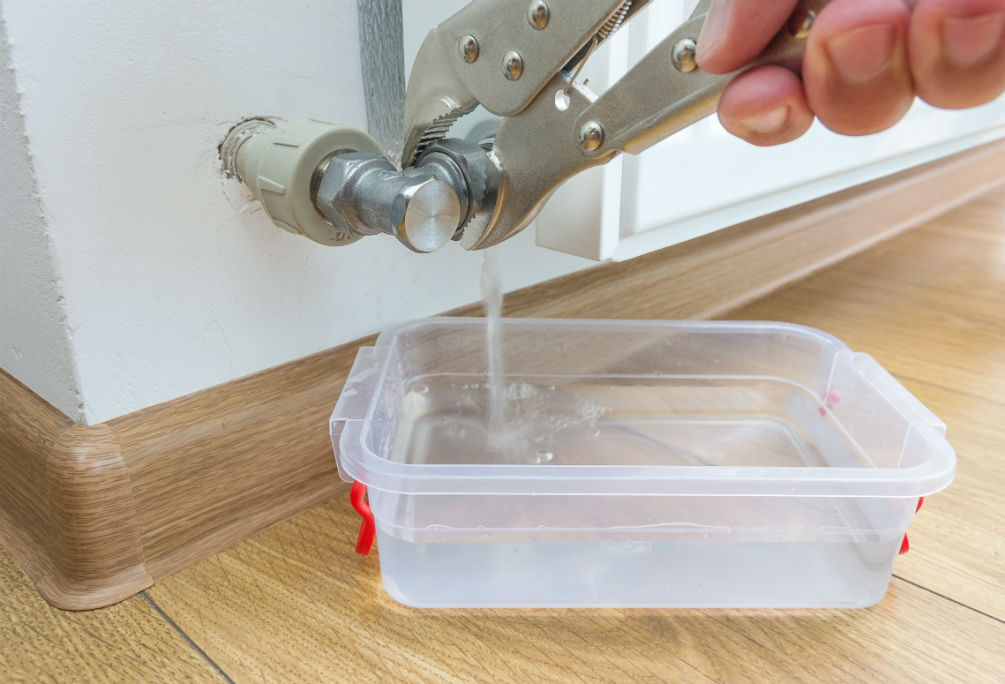
- Turn off your water supply – Before you do anything in how to fix a leaking shower you should turn off the water supply. Since water can still leak from what is left in the shower hose and pipes, also have a towel close by.
- Unscrew the showerhead – You need to unscrew the showerhead so you can examine it more closely. You might be able to use your hands, or if not, use a crescent wrench or pliers. Be careful that as you do this you do not move the shower pipe or bend it.
- Look inside – Then you can look in the showerhead at the plastic washer or rubber o-ring. This is the most common reason for a leaking showerhead and often the answer to how to fix a dripping shower is to replace a worn and brittle o ring. Replace that part.
- Give the showerhead a proper clean – You can also make a leaking shower repair with a good cleaning. Sometimes mineral deposits plug the holes in the head and that can affect the flow. It is especially an issue in areas that have hard water. While the showerhead is removed soak it in a solution of white wine vinegar and water for at least 20 minutes. Then rinse it and use an old toothbrush to clean inside and out.
- Tape it after replacing the washer – When the new washer or o ring is in use some tape around the threads to get a good seal. Put the showerhead back on.
- Test the results – Turn the water on and let the shower run for a few minutes. Then turn the water off and check that there is no more leaking shower head.
How to fix leaking shower taps
Apart from the showerhead, the taps are the next place to look at when concerned that your shower is leaking. Again that is oft due to a worn-down washer. The best shower mixer taps rarely leak.
- Turn off the water supply – Again your first job when looking at how to fix a dripping shower is to turn off your water supply before you start messing with anything. Then let the water drain out of the shower tap.
- Remove the faucet/valve – You will need to remove the handle of the shower valve and the metal plate to get inside of its guts. Use a screwdriver to remove the handle and then the plate. Take special care that the screws do not fall down the drain!
- Replace the seals and washers – Remove all the o-rings, washers and seals and replace them. Make sure there is no damage inside the stem. If there is you may need to call a professional plumber.
- Re-assemble the valve – Clean the pipes with the vinegar and water solution again and then put everything back together after your leaking shower repair.
- Test you are leak-free – Finally, in the process of how to fix a leaking shower, you again test your repairs. Put the water back on, let it run for a few minutes, then turn it off and check for a leak. If the issue is still not resolved, it’s high time to replace them. Why not update and change your bath taps at the same time?
How to fix leaking shower screens
The specific steps to fix a leaking shower screen can depend on the type of shower screen you have and the location of the leak. However, here are some general steps that may help:
- Identify the source of the leak – Before you can fix the leak, you need to identify where it’s coming from. Check the edges of the shower screen, the seals around the door, and any hinges or brackets for signs of damage or wear.
- Clean the area – Use a mild cleaner and a sponge or cloth to clean the area around the leak. This will help you see the damage more clearly and ensure that any sealants or adhesives you use will stick properly.
- Apply sealant – Depending on the location of the leak, you may be able to fix it by applying a waterproof sealant or adhesive. If the leak is coming from the edge of the shower screen, apply a clear silicone sealant along the joint. If the leak is coming from the door seal, remove the old sealant and replace it with a new one.
- Replace damaged parts – If the leak is caused by damaged or worn parts, such as hinges or brackets, you may need to replace them. Consult the manufacturer’s instructions or seek the help of a professional if you’re not sure how to do this.
- Test for leaks – Once you’ve made the repairs, turn on the shower and check for leaks. If you still see water seeping through, you may need to reapply sealant or replace additional parts.
It’s important to fix a leaking shower screen, taps or showerhead as soon as possible to prevent water damage to your bathroom and the underlying structure. If you’re not comfortable making the repairs yourself, consider hiring a professional plumber or contractor to help you.