Curious about fitting a thermostatic shower? It’s something to consider if you’re looking for a more luxurious and customised showering experience. The good news is that it’s not as difficult as you might think.
Thermostatic showers are becoming an increasingly popular choice for households looking for a more comfortable and consistent showering experience. But what is a thermostatic shower, and how do you fit one in your home?
This blog post explores the basics of thermostatic showering and provides some tips on fitting one in your bathroom. So whether you’re just starting your research or are ready to take the plunge, keep reading.
Install a thermostatic shower mixer: Preparation
The most crucial part of installing a thermostatic shower is ensuring that you have the right tools and materials. In addition to your shower mixer, you’ll need:
- Adjustable spanner
- Dust sheet
- Shower head
- Plastic and copper connections – tees and elbows
- Double-sided tape
- Spirit level
- Thermostatic mixer shower
- Pencil
- Pipe cutters for plastic and copper pipe
- Tape measure
- Tile drill
- 15mm plastic and copper pipe
- Shut-off valves
You’ll also need to decide where you want to install your shower. Most people prefer to have their shower over their bath, but it’s really up to you.
Ensure you have enough space in your bathroom and that the area is level before starting the installation process.
How to fit a thermostatic shower
Fitting a thermostatic mixer shower is not as difficult as you might think, but it’s essential to take your time and follow the instructions carefully. Here is the step-by-step guide:
Step 1: Isolate the supply
Before you start any work, it’s crucial to isolate the main water supply. This can be done by turning off the stop valve at the meter or water main. If your property has more than one stop valve, ensure you turn off the correct one.
Step 2: Mark out the position of the shower
Using a pencil and tape measure, mark out the position of the shower on the wall. It’s important to ensure that the shower is positioned centrally in the bathroom and enough space for the showerhead and body is available.
Step 3: Cut the pipe
Using pipe cutters, cut the pipe to the correct length. It’s important to cut the pipe accurately, as any mistakes can be difficult to fix later. Be careful not to cut yourself on the sharp edges.
Step 4: Install the valves
Next, install the two thermostatic valves. Depending on your preference, these can be attached to either side of the shower. It’s essential to ensure that the valves are fitted in the correct position and securely attached to the pipe.
Step 5: Connect the pipe
Connect the pipe to the valves using plastic and copper connectors – tees and elbows. Make sure that all connections are tight and secure.
Step 6: Install the shower head
Install the shower head and body using the instructions provided. It’s important to position the shower head installation at the correct height and ensure that it’s pointing in the right direction.
Step 7: Test the shower
Once everything is installed, it’s time to test the shower. Turn on the main water supply and check that the shower is working correctly. If there are any problems, don’t hesitate to ask for help.
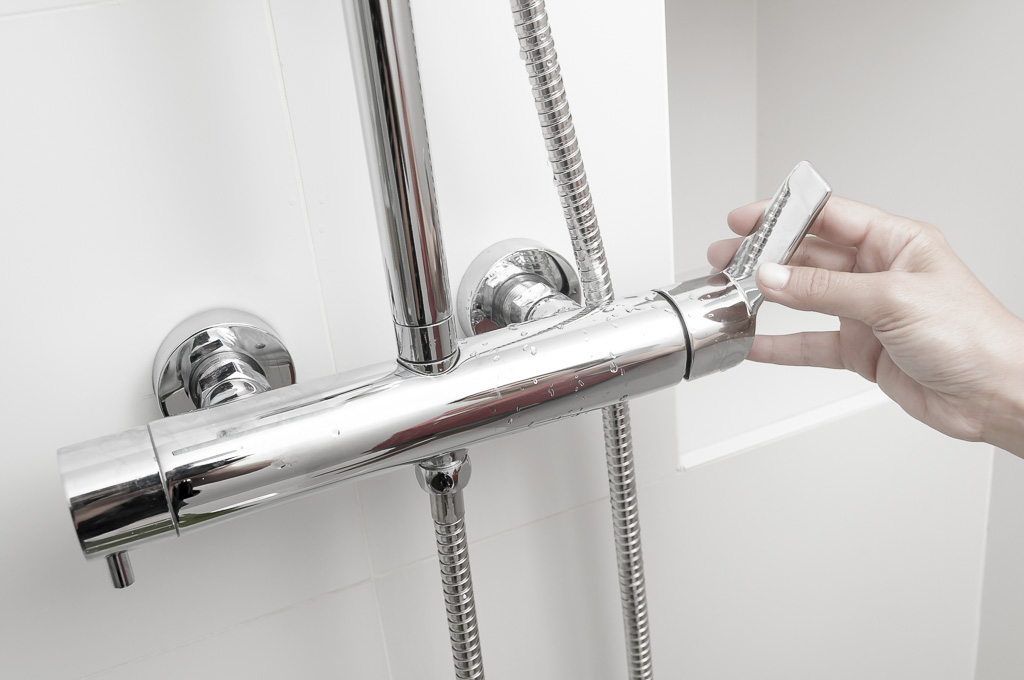
Adjusting the thermostatic shower mixer
Once the shower is up and running, it’s important to adjust the mixer to get the perfect temperature.
The knob on the mixer should be turned until the desired temperature and flow rate is reached. You can then leave the knob in this position to maintain the temperature.
Depending on the mixer model you have installed, there may be other settings that can be adjusted. These include the shower head height and the water flow rate. Experiment with the different settings until you find one perfect for you.
Grab a thermometer and test the temperature of the water coming out of your shower head. You should be aiming for a nice, 38-degree Celsius lukewarm.
If the temperature is too hot or cold, adjust the thermostatic shower mixer until you reach your desired level.
If you’re not happy with the temperature even after adjusting the mixer, it might be worth considering a different shower head. There are some other models on the market, so you’re sure to find one perfect for you.
What kind of maintenance is required for a thermostatic shower?
Thermostatic showers require very little maintenance, but it’s important to keep an eye on the valves and connections. Ensure that all connections are tight and secure and that there is no water leakage.
If the showerhead starts to lose pressure, you can unscrew it and clean the inside with a brush. Be sure to screw it back on tightly afterwards.
Thermostatic shower system reviews
Which Thermostatic shower should you choose? Read our reviews of the best thermostatic shower systems in the UK. We’ve gone one step further and also covered the popular thermostatic bath shower mixer taps.
Verdict
Fitting a thermostatic shower is not as difficult as it may seem. With the right tools and some careful planning, you can have your new shower up and running in no time.
Have you installed a thermostatic shower yet? What was your experience like? Let us know in the comments below.