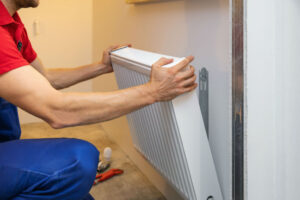
Removing a radiator is easy for an expert plumber who has the training and experience. If you are at all concerned about the process or do not have the knowledge you should leave it to someone who has training and licensed. Here is a closer look at what to think about before you try to remove a radiator and what goes into the removal process.
Why do you need to know how to take a radiator off a wall?
There are several reasons why you might need to remove a radiator but the four more common ones are;
- It is leaking – If your radiator is leaking, possibly through pin holes causes by rusting you might need to remove it to repair or replace it.
- You are putting in a sliding door – Sometimes people choose to put in sliding doors and a radiator might be in the way and need moving.
- You need to remove a radiator for decorating – When you are putting up new wallpaper and using a different colour paint on the walls you will need to move them.
- You are upgrading – Perhaps your radiators are old and not working well or you just want something more modern looking so you are upgrading (here’s the best tall slim radiators reviewed).
How to remove a radiator safely in 4 easy steps
There are a few steps to take when removing a radiator but before you start, you should make sure the heating is off and that you wait an appropriate time until the pipes and radiator are cool and not going to burn you. You will then want to drain the radiator so it does not make a mess when you do get to the stage when you can lift it from the wall. Make sure your tools are not overly worn down, that you have a good pair of gloves and an assistant to help!
1. Making sure the radiator valves are in the correct position
Once the system cools enough to work on safely you need to find the radiator valves at each end. If you do not know how does a radiator drain valve work you have one that controls the flow of water coming in and one that sends it back to reheat. The larger valve should be closed turning it clockwise. If you have an automatic thermostatic valve then you should turn that down to the lowest setting. Do not leave the valve in the ‘frost’ setting as that could lead to flooding should the temperature in the home suddenly drop too far.
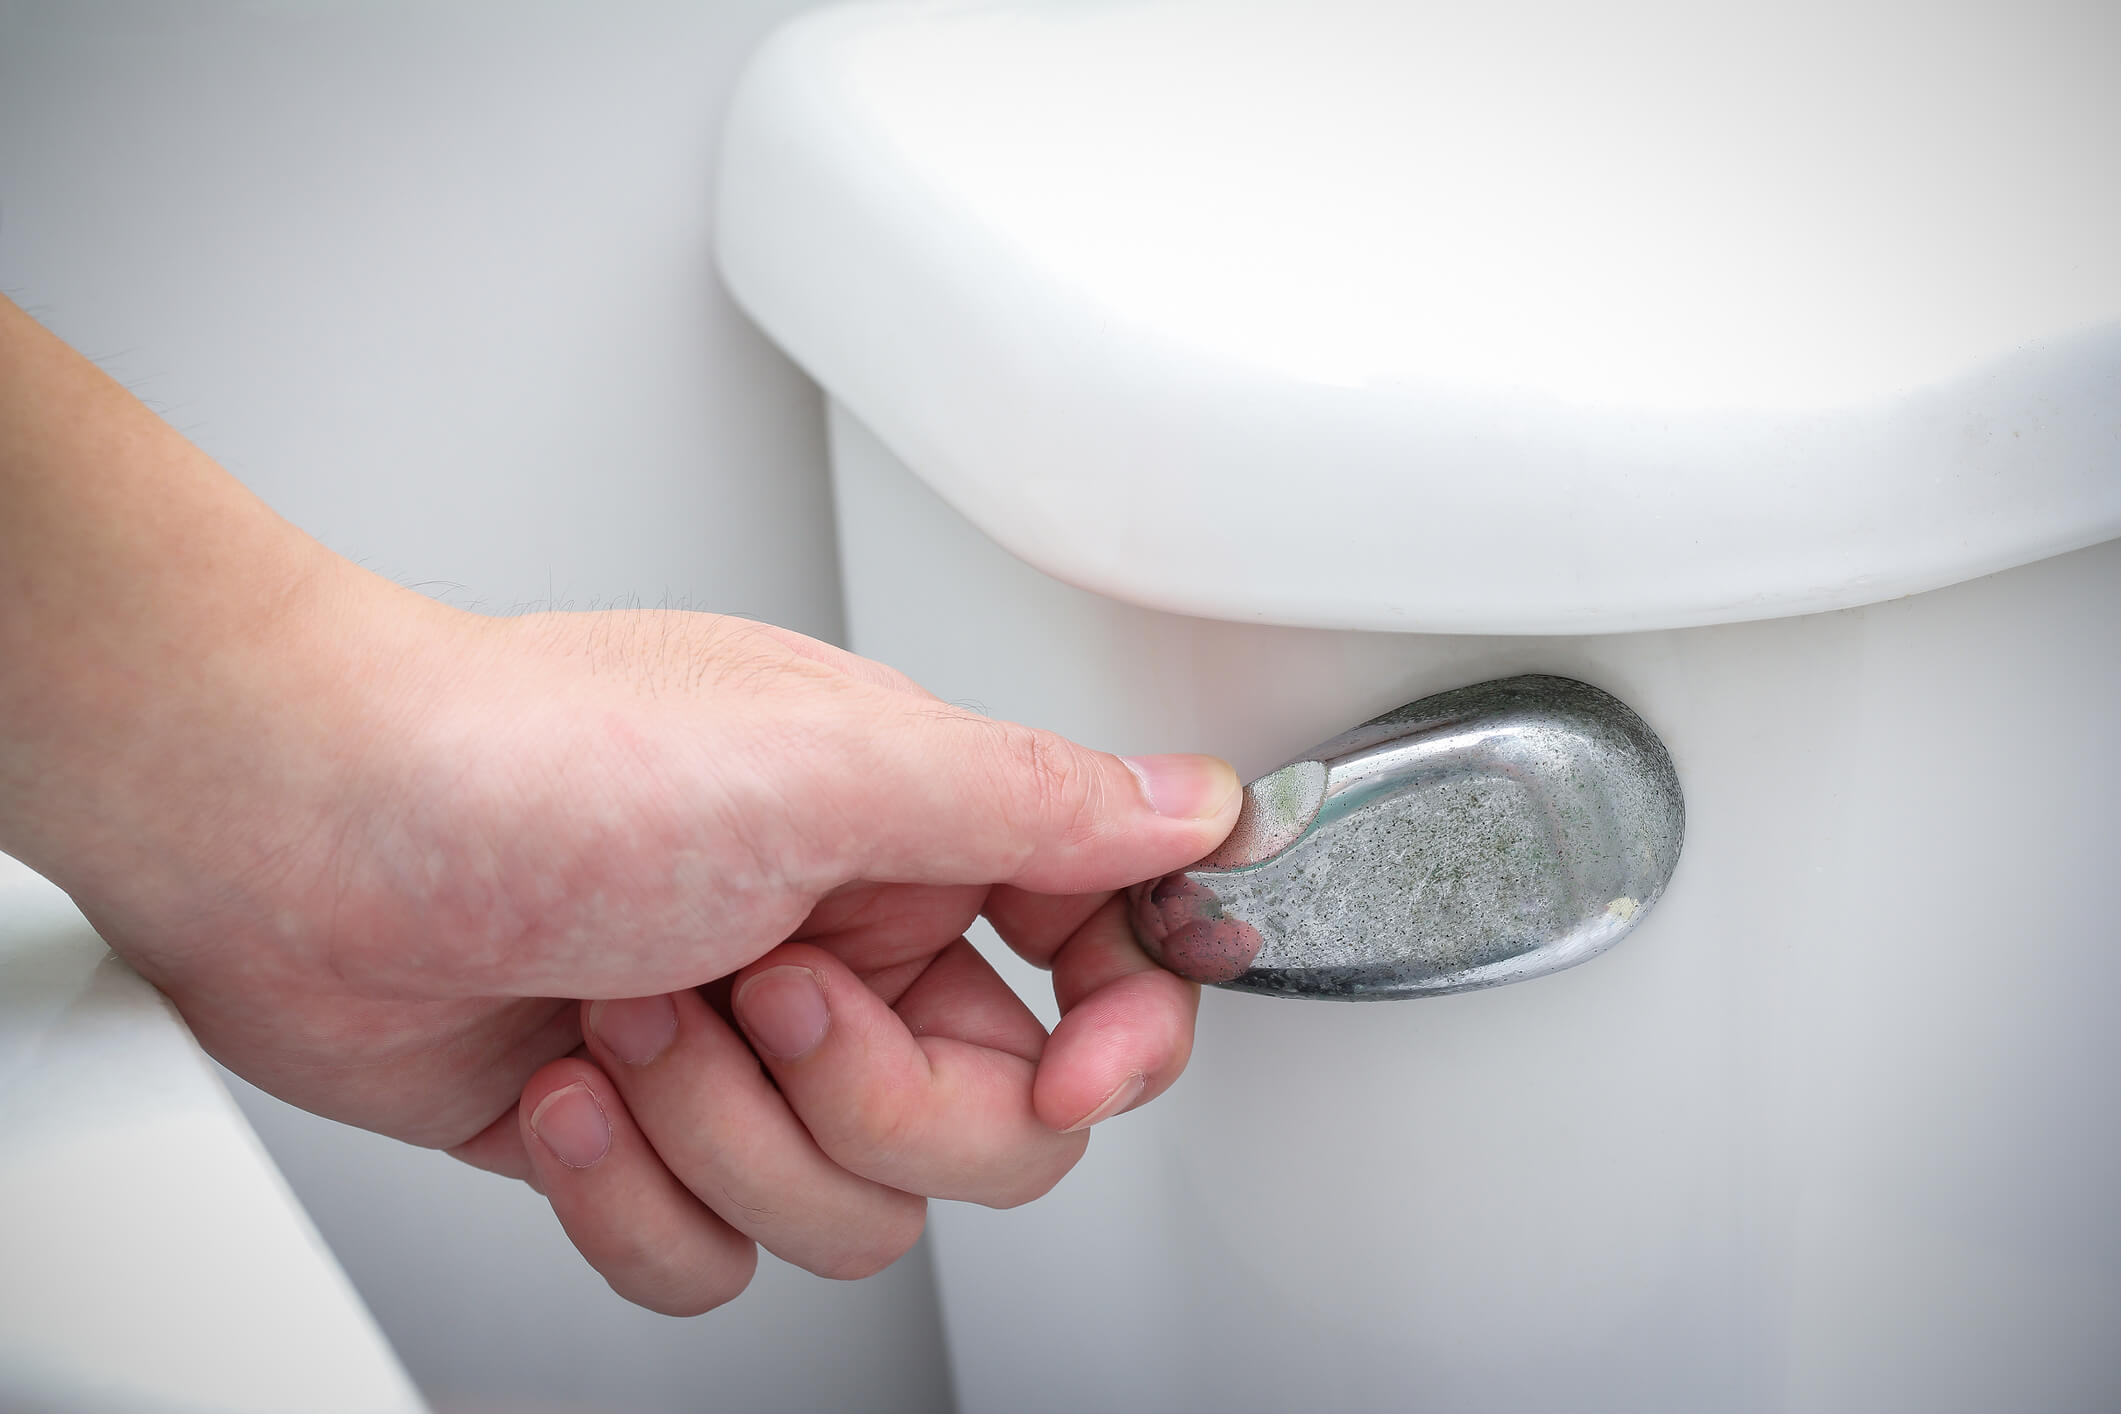
2. Make sure the water supply to the radiator is off
When you need to remove a radiator for decorating you should also turn the water supply off to avoid a mess. To shut off the water to a single radiator you’ll need to turn off the valve. The valve on the radiator needs to turn clockwise and count how many turns it takes. You will need to remember that or record it for when you put things back. The bleeding valve at the top needs to be opened but do it slowly and carefully. Some air is likely to spurt out with some water. If it does not stop you need to close it and call in a plumber. If it stops as it should leave it open for the next stage.
3. Drain the water
In the process of how to remove a radiator, you should have an old towel or plastic sheet to protect the floor, a bucket or large container and some absorbent cloths. Place a bowl under the thermostatic valve and loosen the union nut there. Close it when the bowl is full and empty it then repeat. Keep going until nothing comes out and loosen the nut completely to check.
4. Lifting the radiator away
On the other side remove the other union nut and check it has separated from the pipes. How to take a radiator off a wall means checking if there are wall brackets. Some have wall brackets that also need removing. Close the bleeding valve and lift the radiator off with your helper keeping it vertical and place it elsewhere.
5. Temporary capping
When you remove a radiator if it is cold and you need to get the heating back on you can put on temporary capping over the pipes that were attached to the radiator. This will mean you can safely turn on the heating until you replace the radiator.