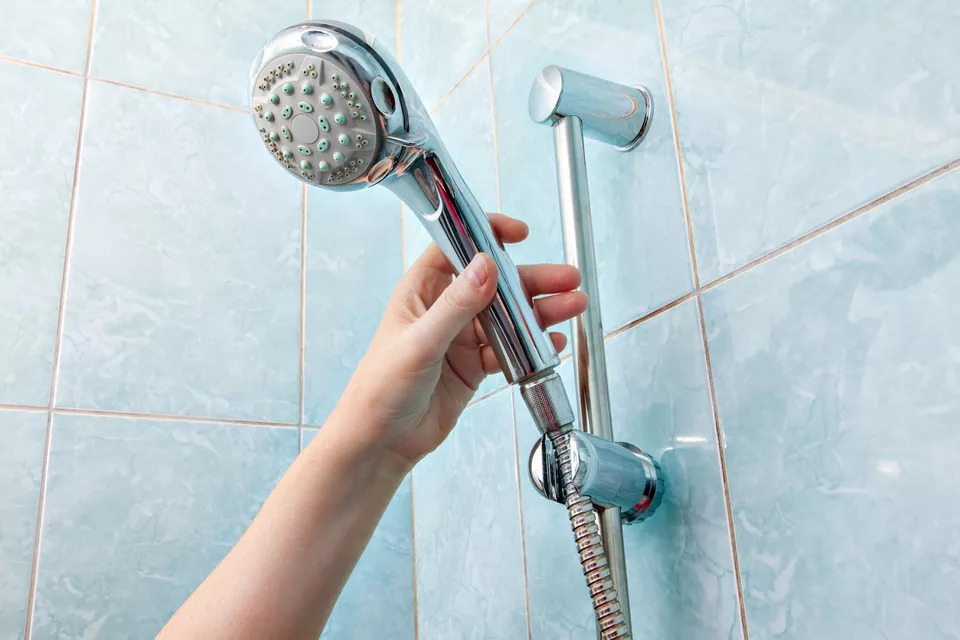
The way your shower releases water, be it the pressure or area it covers, influences how much water you use and how you bathe. In the long run, it impacts your water bills as well.
When deciding on a shower pump you may be wondering where to place it, what are the best shower pumps UK to use, how to remove the existing pump, and how to follow a foolproof shower pump installation process. While a shower pump is generally installed near a break or storage tank, you can be confused about how to do the task.
Gather a bucket, monkey wrench, screwdriver, electrical tester, and a few towels. Then, follow this 10 step process to install a shower pump.
First and foremost, do you need a shower pump?
You can only identify the need for a shower pump after measuring the incoming water pressure of the shower. Anyone can calculate this value by following these steps:
- Turn off all the taps in every washroom, kitchen, and even the backyard of your household.
- Acquire a 1-litre measuring bucket.
- Place the bucket under the cold water tap and wait till it reaches the 1-litre mark. Make sure you’re timing how quickly the bucket gets filled.
Now that you have the value (time) of how long it took to reach the 1-litre mark, use the following formula: x (litres/minute)= 60/(time). Thus, if it took 10 seconds to fill the bucket to the 1-litre mark, your tap is giving 60/10 litres per minute, which comes down to 6 litres per minute.
When considering the universally accepted rule for installing a shower pump, the water pressure is low if a tap takes more than 8 seconds to give out a litre of water. This is when you are sure of the need to install a shower pump.
Shower Pump Installation Process: 10 Easy Steps
Step 1: Make sure to keep the pump electrically isolated. Start by switching your home’s electricity off, detach the fuse, and use an electrical tester to test the pump.
Step 2: Once you’re done isolating the pump, start to remove the wires. First, detach the cover of the electrical box and test it with the electrical tester again. If all seems fine, use a screwdriver and carefully disconnect all wiring connections.
Step 3: Since you want to dodge the bullet of a flooded home, switch off both the hot and cold water supply.
Step 4: Once the above instructions are followed, begin the process of detaching the existing pump. For older pumps, a monkey wrench will help to dismantle its connection. But in the case of more modern pumps, you can easily unscrew the water connection.
Step 5: Now that the old shower pump is detached, clear the area of any junk or dirt.
Step 6: Flush the pipeline thoroughly to get rid of any collected debris. Once you’re sure that it’s clear, position the pump accurately. Remember, there will be separate pipes for hot and cold water supply that need to be connected to the pump. For this process, there will be instructions given with your new pump.
Step 7: Run at least one bucket of water through the cold and hot water pipelines. Don’t stop pouring water unless the outflow is smooth and consistent. Once you’re sure that it’s absolutely clean, attach the relevant hoses to the shower pump. Cleaning the pipeline well enough kills the probability of any trapped air being left inside.
Step 8: This step entails switching on the water supply and double-checking for possible leakage or disruptive flow. Most often, detaching and reattaching the hoses will solve such problems.
Step 9: Once the pump is successfully connected and you can’t spot any leakage issues, feel free to initiate the wire connections. Just make sure to keep the pump electrically isolated during these steps as well.
Step 10: Switch on the electric supply and enjoy high-pressure water bathes.
Tips to Follow While Installing a Shower Pump
These tips will reduce any chance of future shower pump failures. Even better, they will increase the security of your shower pump and contribute to a wholesome bathing experience.
- Maintain a distance of at least 10 inches between the shower rose and the water level in the storage tank. If the distance falls below 10 inches, then your shower pump wouldn’t hit the benchmark flow of 0.5 litres per minute. Without this benchmark flow rate, the pump wouldn’t work.
- The capacity of the storage tank must not be any less than 225 litres. This will permit your hot water cylinder and a shower pump to function without disruptions.
- Depending on whether your house is on hilly or flat ground, the water pressure can fluctuate. Make sure to account for the same.
- Shower roses with a small head will be perfect for 1 bar shower pump. Generic shower roses work best for 2 bar shower pumps. However, if you have larger than ordinary shower roses, opt for a 3 bar shower pump.
- To prevent a noisy shower pump, place it on a concrete block with 2 inches of thickness.
What Kind of Shower Pump To Install?
Here are the three most common types of shower pumps:
- Positive shower pump: Maximum shower pumps are of this type and work on the principle of gravity. For best results, maintain a 10-inch between the water level in the tank and the pump.
- Negative shower pump: You’ll require an open-vented water supply system like the positive shower pump. The negative shower pump works by creating suction from the cold water tank to the shower rose.
- Centrifugal shower pump: They function with more than a single impeller, are quiet, and are also energy-efficient.
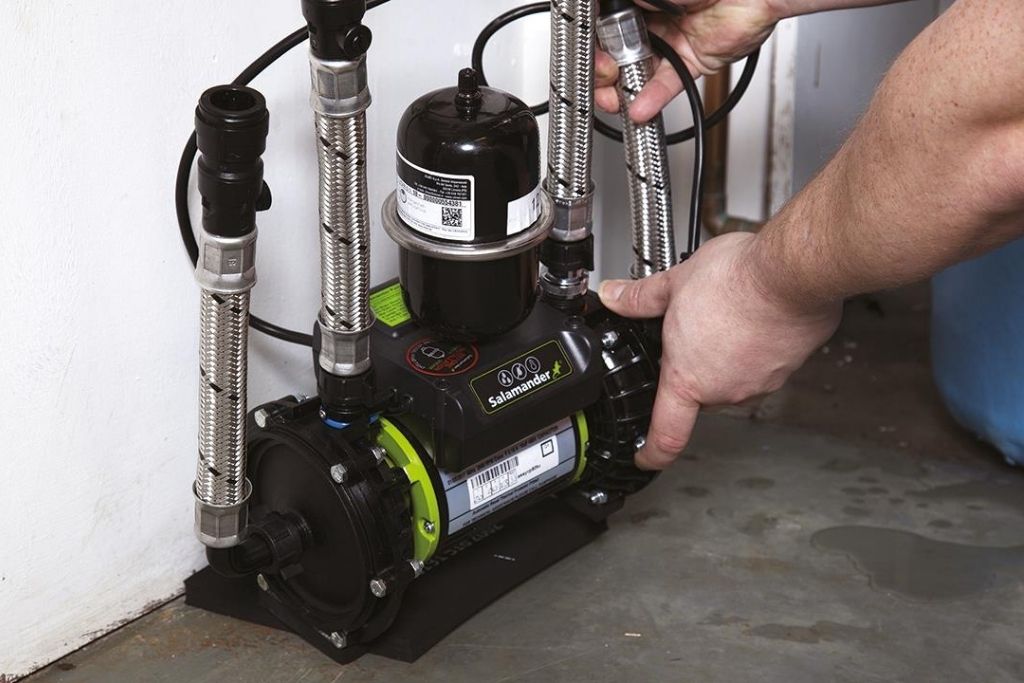
There are shower pump brands as well that you can check for great power. One of them is the Salamander Pump and we have a Salamander Pumps review that you could check.
You may also need impellers (rotors) to enhance the pressure of the shower pump.
Verdict
You can bathe with a more substantial flow of water, provided you follow this step-by-step guide on how to install a shower pump and account for factors such as space, piping, and the pressure intensity demanded from your shower pump.